Finally, here is the 3rd part of our series of articles about Kuzzle Mobile and React Native:
Finally, here is the 3rd part of our series of articles about Kuzzle Mobile and React Native:
- Part 1: Initialize the app and manage users login
- Part 2: Let’s code a real-time chat
- Part 3: Kuzzle Mobile good practices
This part is dedicated to good practices in the use of Kuzzle and in particular to the management of users API keys.
If you followed part 1 and 2 (which I strongly encourage you to do), you should have a fully working real-time messaging mobile application! But there is more… indeed, you may have noticed that when the application is restarted it is necessary to redo the authentication each time. Troublesome isn't it ?
Today, we will therefore see how to generate API keys and how to persist the current user's information with Kuzzle Mobile, Expo and React native.
Quick reminder
In part 1 of this series we created our new project for our mobile application, configured our backend stack and used the Kuzzle Javascript SDK to perform user login. In the second part, we implemented all the logic behind the real-time chat.
Let’s begin the third part, but before we do, as a reminder, here two useful commands we will need:
To launch the Kuzzle stack:
docker-compose up
To restart the build of the mobile application with Expo:
npm start
These 2 commands must be executed at the root of your project.
Persist current user
To persist current user information and not be obliged to re-authenticate each time we launch the application, we will have to do a tiny refactor of our code.
In the file App.js find the two lines where we declare the two JWT and username React state :
const [jwt, setJwt] = useState(null);
const [username, setUsername] = useState(null);
We can remove them both and replace them with a new useState declaration :
const [currentUser, setCurrentUser] = useState(null);
It is thus in this variable of our state that we are going to store the information that we want from the freshly connected user.
Now we have to modify the onLoginSuccess function. What we want is to create a new API key once the user is successfully logged in.
If you go to the Kuzzle documentation website and in particular to the API keys section. You will learn that API keys are just authentication tokens. You can use your API key the same way you use your authentication token. The main difference is that there is no expiration date for this token.
In the App.js file, locate the onLoginSuccess method and modify it to do what we want now :
const onLoginSuccess = async (username) => {
 try {
   const apiKey = await kuzzle.auth.createApiKey(`${username} API key`);
   const currentUser = {
     username,
     jwt: apiKey._source.token,
     tokenId: apiKey._id
   };

   await SecureStore.setItemAsync('persistedUser', JSON.stringify(currentUser));

   setCurrentUser(currentUser)
 } catch {
   showToast(
     "danger",
     "Sorry an error occurred during authentication"
   );
 }
};
Now we need to call the createApiKey method from the auth controller of the Kuzzle SDK. We give it as parameter a description of the API key we want to create. This could be useful if you have to deal with different keys.
After that, we create a new object representing the current user: username, jwt and tokenId. The last one is the unique identifier, returned by the SDK, of the API key we just created. We will need it in the following part.
If you remember the first article of this series. We had installed the “Expo-secure-store” library and never used it yet. It’s now the time to use it!
This library provides a way to encrypt and securely store key–value pairs locally on the device (you can learn more here).
That’s perfect for our needs. We can use the SecureStore.setItemAsync method to persist our user information. This one takes 2 parameters : the key to associate with the stored value and the value to store. Note that we need to use JSON.stringify to convert our JS object to a string.
If everything goes well, we just have to call the setCurrentUser function to save it to the state.
Next, pinpoint the useEffect hook declaration that triggered on JWT and username modification :
useEffect(() => {
 if (jwt && username) {
   setIsLoggedIn(true);
 }
}, [jwt, username]);
And modify it to activate it on currentUser state update:
useEffect(() => {
 if (currentUser) {
   setIsLoggedIn(true);
 }
}, [currentUser]);
And to finish on this file, on the renderApp function, change the condition based on the state like this:
if (!isLoadingComplete && isRessourcesLoaded) {
 pageContent = <Spinner />;
} else if (!isLoggedIn) {
 pageContent = <LoginForm onLoginSuccess={onLoginSuccess} />;
} else if (currentUser) {
 pageContent = <Chat currentUsername={currentUser.username} />;
}
Now open the LoginForm.js file and find the performLogin method. Taking a look at the previous modifications, you should have noticed that we now need to give only one parameter to the onLoginSuccess function. So, update the call of this function on the performLogin method like this:
onLoginSuccess(username);
That's all for this first refactor part. Now each time an user fills the login form and the authentication is successful, an API key is then created by Kuzzle. So we can keep in the local store as well as in the state of our application all the necessary information of the concerned user.
Get a persisted user
For the next chapter, what we want to achieve is to modify our application to be able to get the persisted user on the local store of the phone, if there is one, and also, verify that the user API key is valid before continuing with this user.
Once again go to the App.js and locate the useState hook using the connected state variable
useEffect(() => {
 if (connected) {
   setIsLoadingComplete(true);
 }
}, [connected]);
We need to update the logic on this hook to retrieve the information of the user previously logged then check if the API key is valid and finally if everything is alright show to the user the chat component, else we need to ask the user to log-in.
You replace the actual code of the hook by this one :
useEffect(() => {
 if (connected) {
   SecureStore.getItemAsync('persistedUser').then(async (persistedUser) => {
     persistedUser = JSON.parse(persistedUser);

     if (await checkTokenValidity(persistedUser.jwt)) {
       kuzzle.jwt = persistedUser.jwt; // set the jwt on the kuzzle SDK property to automatically use it
       setCurrentUser(persistedUser)
     }

     setIsLoadingComplete(true);
   }).catch(() => setIsLoadingComplete(true));
 }
}, [connected]);
What we do here is to call the SecureStore.getItemAsync method provided by Expo-secure-store and if there is a result, we can try to check if the token is valid then if it is, we can set the currentUser on the app state.
Note that we use a promise to call getItemAsync because we can’t declare an async hook. If there is no result we pass through the catch statement and we don’t need to show an error. In fact, we just need to continue the execution without set current user information.
Also you have to add a new function on the component to implement the API key verification, here it is :
const checkTokenValidity = async (jwt) => {
 try {
   const verifiedToken = await kuzzle.auth.checkToken(jwt);
   return verifiedToken.valid;
 } catch {
   showToast(
     "danger",
     "Sorry an error occurred during user verification"
   );
 }
}
This one calls the checkToken method of the auth controller, supplied by the Kuzzle-SDK (more info about this method here).
At this time, you can run the application with Expo and try to authenticate yourself. If you close the app and restart it, you will be automatically logged in and you will see the chat screen directly.
Log-out
For this step we will implement the log-out logic. To allow users to disconnect from the application and delete their API key.
The first thing to do is to add a log-out button. To do that we need to import some new components from the Native-base library.
In App.js, at the top of the file, find this import statement :
import {
 Root,
 Header,
 Body,
 Title,
 Container,
 Toast,
 Text,
 Spinner,
} from "native-base";
And add the new components which we need, to be precise : Right, Icon and Button
import {
 Root,
 Header,
 Body,
 Right,
 Icon,
 Button,
 Title,
 Container,
 Toast,
 Text,
 Spinner,
} from "native-base";
These three components will allow us to add a button to the header component of the application. So let’s do that !
Go to the renderApp function and update the return statement like this:
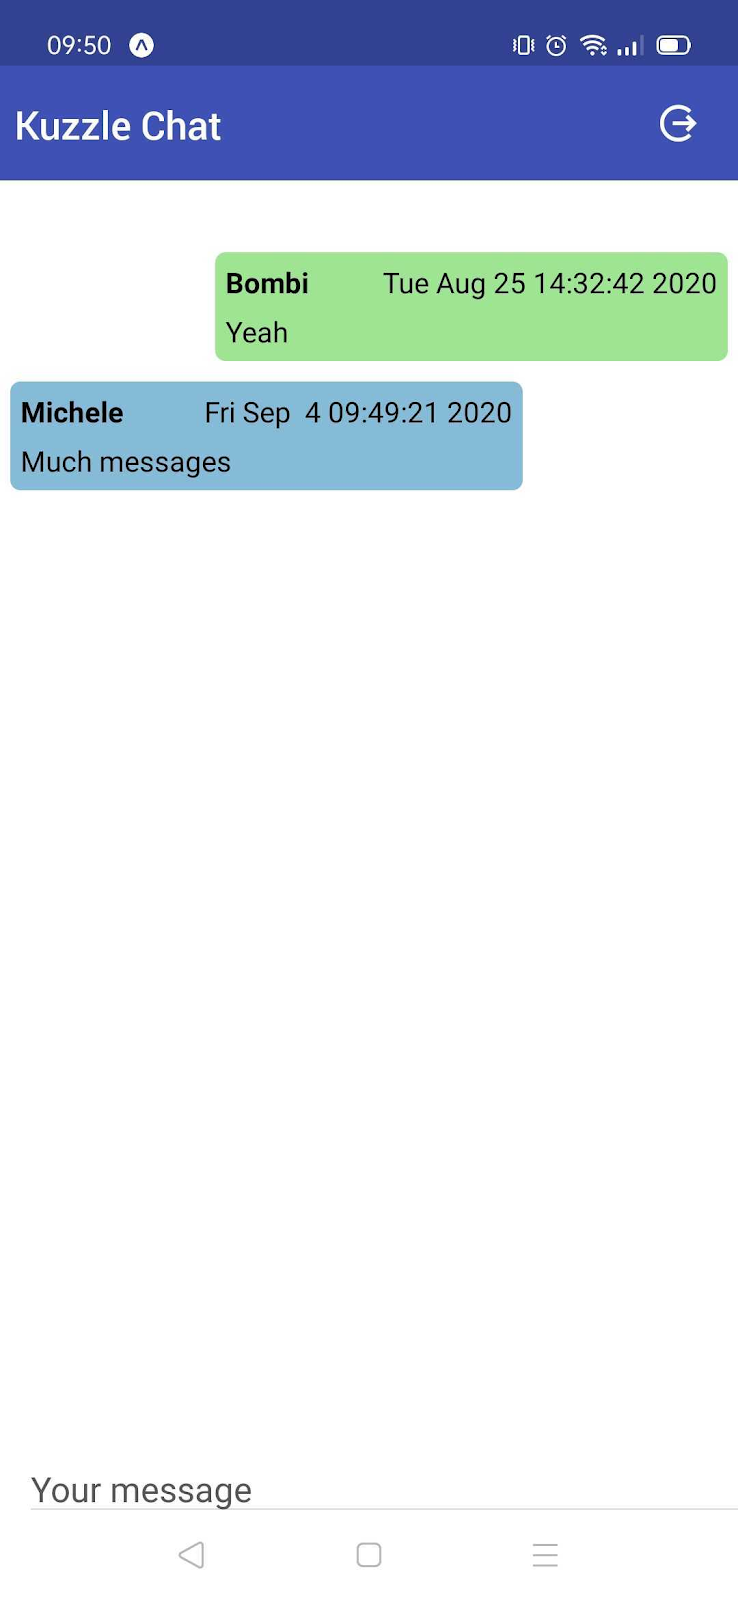
return (
 <Root>
   <Container>
     <Header>
       <Body>
         <Title>Kuzzle Chat</Title>
       </Body>
       {isLoggedIn && <Right>
         <Button transparent onPress={logout}>
           <Icon name='log-out' />
         </Button>
       </Right>}
     </Header>
     <Container padder>{pageContent}</Container>
   </Container>
 </Root>
);
We added a transparent button positioned to the right with a log-out icon on it and of course we will display it only if the user is logged in.
Next, we need to add a new function, the one called when the user presses the button.
const logout = async () => {
 try {
   await SecureStore.deleteItemAsync('persistedUser');
   await kuzzle.auth.deleteApiKey(currentUser.tokenId);

   setCurrentUser(null);
   setIsLoggedIn(false);
 } catch {
   showToast(
     "danger",
     "Sorry an error occurred during log-out"
   );
 }
}
Here we delete the persistedUser item from the Expo secure store then delete the user API key with Kuzzle-SDK and also clear the currentUser and isLoggedIn state of our application.
When the user presses the button, it will be automatically redirected to the login form.
Once again, you can launch the application and test the log-out button by yourself.
Go further
At this time, we have a fully functioning mobile application! Users can authenticate themselves, get and send messages through the chat screen and disconnect their session. We’re done with all the code and logic implementation!
For the last chapter, I want to give you some hints and tools to go further with Kuzzle Mobile and all its ecosystem.
Kourou:
The CLI that helps you manage your Kuzzle instances! This is a great tool to administrate your Kuzzle stack and help you all along you develop your project. Many of the members of the kuzzle team use it every day. We try to add plenty of useful commands and you can see the detailed list and the documentation here : Kourou on Github.
Kuzzle plugins:
We have developed a complete mobile application without coding one line for the backend part. This is one of Kuzzle's greatest strengths, but sometimes for some projects you will be forced to implements business logic on the backend side. This is where the plugin system comes into play!
We also provide some official plugins, you can browse the complete list here.
Conclusion
This completes our series of articles about React Native and Kuzzle Mobile.
if necessary you can find the integrality of the project code on this github repository.
In these 3 articles we have covered many important notions for developing a real-time messaging mobile application like setup and install a Kuzzle Mobile instance through docker and docker-compose, use the Kuzzle Admin Console, manage securities, users and their API keys, understand Elasticsearch mappings, create an index, a collection and some documents and of course how to add real-time capabilities to our application.
I hope this has helped you to get to grips with Kuzzle and to understand a little more of the philosophy behind it.
Once again do not hesitate to come to our Discord server if you have some questions or suggestions.

